
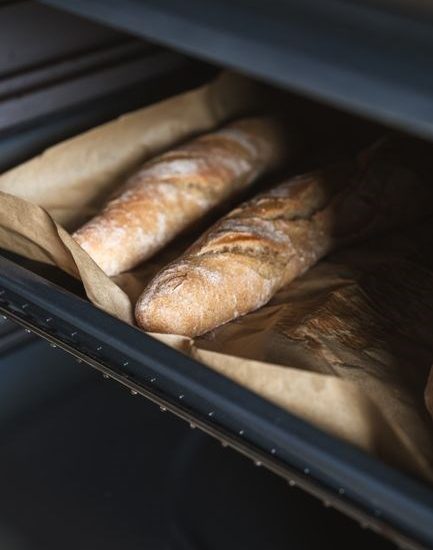
Welcome to the Jenn Air oven troubleshooting guide. This concise overview helps you quickly identify common problems and understand basic solutions, ensuring your appliance runs efficiently and safely. Follow the steps , and if issues persist, consult the user manual or contact support fast assistance Now!!!.

Common Issues and Their Causes
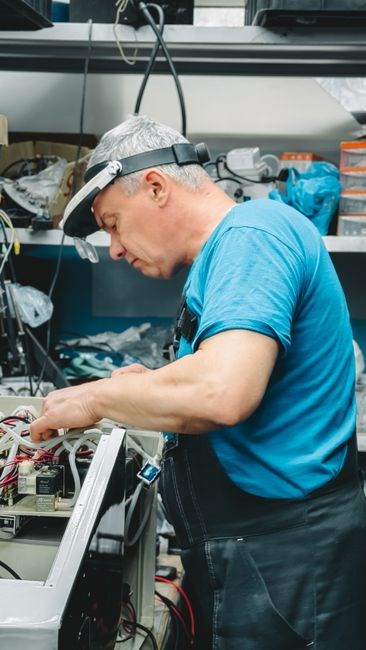
Common Jenn Air oven issues stem from power, heating element, door seal, and control board faults. Power outages, faulty wiring, worn elements, gasket wear, or firmware glitches can cause heating failures, uneven temperatures, error codes, or firmware glitches. Identifying the root helps fix quickly. !!
Issue 1: Oven Not Heating
When a Jenn Air oven fails to heat, the problem usually lies in one of three areas: power delivery, heating element integrity, or control circuitry. First, confirm that the unit is properly plugged into a functioning outlet and that the circuit breaker has not tripped. A simple voltage test with a multimeter should read 120 V (or 240 V, depending on your model) at the outlet. If the voltage is correct, inspect the heating element for visible damage or breakage; A broken filament or a cracked element will prevent heat generation. Use a continuity tester to verify that the element’s resistance falls within the manufacturer’s specified range; a reading of infinite ohms indicates a fault. If the element passes continuity, the issue may reside in the control board or thermostat. Check for blown fuses or tripped thermal relays on the board, and inspect the temperature sensor for proper operation. A faulty sensor can send incorrect data, causing the oven to shut down heating. If all hardware checks out, consider resetting the oven’s control system by unplugging the appliance for five minutes, then restoring power. This can clear transient errors that sometimes lock the heating cycle. If the oven still does not heat after these steps, the problem may lie in the control module or a power supply, needing professional repairs. Maintaining a clean, dust‑free environment around the oven and ensuring that the door seal is intact will help prevent future heating failures by reducing heat loss and protecting the element from contamination.

Issue 2: Inconsistent Temperature
An inconsistent temperature reading in a Jenn Air oven can stem from several sources: a malfunctioning thermostat, a failing heating element, uneven power supply, or an improperly calibrated sensor. Begin by verifying that the oven’s temperature indicator matches the actual internal heat. Use an oven thermometer placed in the center of the middle rack to record the temperature at 10‑minute intervals. If the thermometer shows a steady rise while the oven’s display remains flat, the control board may be misreading sensor data. Next, inspect the heating element for signs of wear or uneven heating. A partially damaged element can cause hot spots and cool patches, leading to temperature swings. Clean the element and surrounding area to remove dust buildup that can insulate heat. Check the power supply by measuring voltage at the oven’s internal junctions; fluctuations can cause the heating element to cycle irregularly. If voltage is stable, examine the thermostat’s wiring for loose connections or corrosion. A loose wire can introduce intermittent contact, causing the oven to think the temperature is lower than it actually is. Additionally, ensure the oven door seal is intact; a leaking seal allows heat to escape, making the oven work harder to maintain set temperatures. Finally, calibrate the oven’s internal sensor by following the manufacturer’s calibration procedure, which often involves adjusting a screw or using a calibration tool. After each adjustment, run a test cycle and monitor the temperature stability. Consistent readings within ±2 °F indicate proper operation. If inconsistencies persist, the control board or a dedicated temperature sensor may need replacement by a qualified technician.
Issue 3: Error Codes Displayed
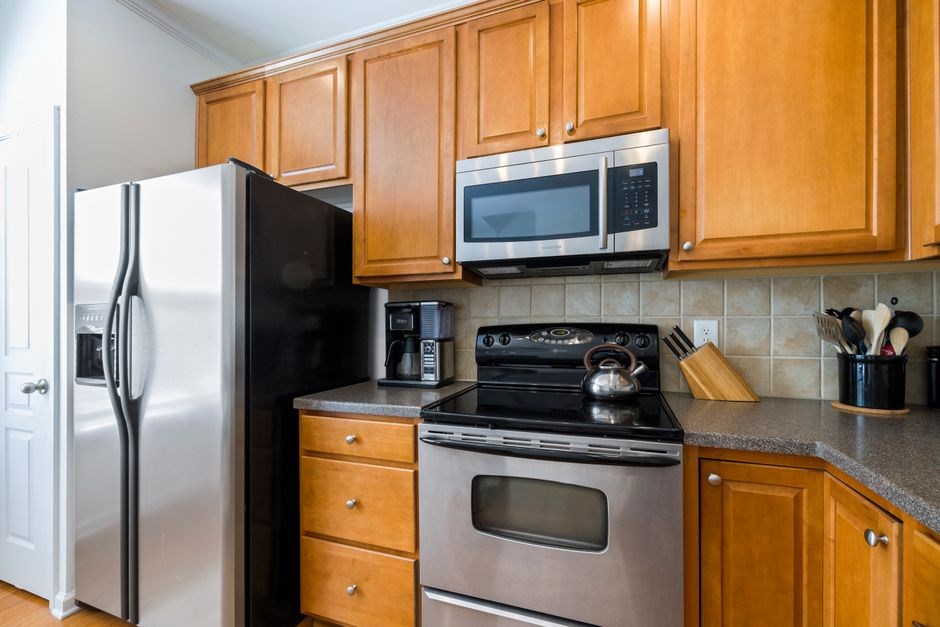
When a Jenn Air oven shows an error code, the control board signals a specific fault. Common codes include “E01” for sensor failure, “E02” for door sensor, and “E03” for over‑temperature protection. First consult the service manual to decode the code. For sensor errors, inspect wiring, look for damage, and verify resistance matches spec. Replace faulty sensors. For door sensor codes, clean the magnetic switch, ensure proper alignment, and check for debris. Over‑temperature codes often result from blocked vents or clogged filters; clear exhaust paths and replace filters. After addressing the physical issue, reset the oven by turning power off for 30 seconds, then back on; this clears the flag. If the code reappears, the problem may be deeper, such as a defective control board or thermostat. In such cases, a technician should test voltage levels, inspect circuitry, and replace damaged components. Firmware updates can also resolve bugs that trigger erroneous codes. By following these steps—code lookup, component inspection, cleaning, and reset—you can quickly isolate and fix most error conditions, restoring reliable operation without unnecessary repairs. Remember to keep the oven’s door closed during operation, and avoid overfilling the oven to maintain proper air circulation. If problems persist, contact Jenn Air support for advanced diagnostics and warranty service. Always refer to the user manual for safety guidelines, and schedule routine maintenance to extend appliance life.!
Issue 4: Oven Door Won’t Seal Properly
When the oven door fails to seal, inspect the gasket for cracks or warping; replace if damaged. Check hinges and latch alignment; tighten screws as needed. Verify the door frame is clean and free of debris. Clean the gasket with mild soap and water, dry thoroughly before reinstalling. For older models, use in a gasket replacement kit that matches the exact dimensions properly.
- Check gasket for damage.
- Clean hinges and latch.
- Test seal with gentle pressure.
- Lubricate latch mechanism.
- Confirm door fully closed before cycling.

After these actions, a persistent seal problem may signal a warped door frame or internal misalignment. Check the frame for dents and ensure proper alignment.
A properly sealed oven door is essential for maintaining consistent cooking temperatures and preventing energy waste. The gasket, usually made of silicone or rubber, must be free of cracks, tears, and hardening. Over time, heat cycles can cause the gasket to become brittle, leading to gaps that allow hot air to escape. Regular cleaning with mild detergent removes grease buildup that can impede the seal. When installing a new gasket, align it evenly around the perimeter and press firmly to eliminate air pockets. After installation, let the gasket sit at room temperature for at least an hour before use to ensure it expands fully. If the door still does not close snugly, inspect the hinges for misalignment and adjust or replace them as needed.
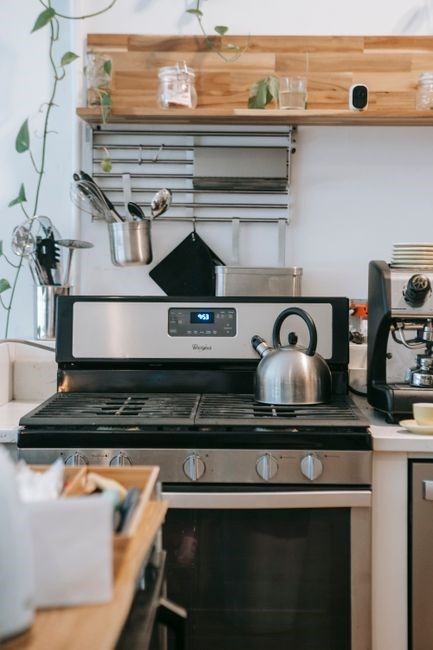
Step‑by‑Step Troubleshooting Process
Begin by verifying power, then examine the heating element for continuity. Next, test the door gasket for proper seal. If issues persist, reset the control board via the main switch. Finally, consult the manual for error codes and follow recommended fixes. If issues persist, call support. Unplug before repairs!!
Step 1: Check Power Supply
First, ensure the oven is securely plugged into a grounded outlet. Inspect the power cord for fraying, kinks, or exposed wires; replace if damaged. Verify the circuit breaker or fuse for the kitchen circuit is not tripped or blown—reset or replace as needed. Use a multimeter to confirm 120 V (or 240 V, depending on model) is present at the outlet. If voltage is correct but the oven still fails to power, check the internal main switch and any safety interlocks. Inspect the oven’s internal power connector for loose pins or corrosion; gently clean with a dry cloth. Finally, test the oven’s control panel by pressing the power button and observing the indicator light; a steady or flashing light indicates the control board is receiving power. If the light remains off, the issue may lie within the control board or a hidden internal fuse. In such cases, consult the service manual or contact authorized support for further diagnostics. Always unplug the appliance before performing any inspection or repair to avoid electrical shock or damage.
Additionally, monitor the oven’s temperature sensor by using a calibrated thermometer. Place it near the heating element and record readings at set intervals. If the sensor reports inconsistent values, replace it per the manufacturer’s guidelines. Also, verify that the oven’s ventilation fan operates smoothly; a sluggish fan can cause overheating and affect performance. Document any anomalies and keep a log for future reference. For logs, note. daily.!!
Step 2: Inspect the Heating Element
While the element is exposed, check for any loose connections or corroded wires. Tighten terminal screws gently with a Phillips screwdriver, but avoid overtightening which can strip threads. Clean any corrosion with a contact cleaner, then re‑attach the element securely. If ceramic, inspect for cracks; a hairline fracture can compromise heat distribution.
After confirming the element’s integrity, re‑install the panel, plug the oven back in, and power it on. Observe whether the heating indicator lights up and whether the oven reaches the set temperature. If the oven still fails to heat, consider inspecting the temperature sensor or control board, as the issue may stem from a faulty feedback loop rather than the element itself.
Additionally, ensure the oven’s temperature sensor is functioning correctly by comparing its readings with a calibrated kitchen thermometer placed near the heating element. If discrepancies exceed 5 °F, replace the sensor per the manufacturer’s guidelines. Regularly inspect the control board for burn marks or loose solder joints, as these can affect performance over time.!
Finally, after re‑installing the heating element, run a test cycle at the highest temperature setting. Observe the oven’s internal temperature gauge for a steady rise and verify that the cooking time matches the manufacturer’s specifications. Document any deviations, as they may indicate lingering issues with the thermostat or control circuitry that require pro attention.
Step 3: Verify Door Seal and Gasket
Start by opening the oven door and visually inspecting the rubber gasket for cracks, tears, or stiff spots. A warped door frame can also compromise the seal, so check for any visible warping or misalignment that might prevent the gasket from seating fully.
Clean the gasket and the surrounding door frame with a mild soap solution or a dedicated oven gasket cleaner. Remove grease, food residue, and mineral deposits that can hinder a tight seal. Dry thoroughly before proceeding.
Close the door and listen for any audible gaps or rattling. A properly sealed door should close smoothly with no clicking noises. If you hear a click or notice a draft, press the gasket firmly against the frame to ensure even contact.
Perform a simple heat test: set the oven to 350 °F, let it preheat, and place a small towel inside. If the towel remains dry after a few minutes, the seal is likely effective. Dampness indicates a gap that may need gasket replacement.
Replace the gasket only if it shows signs of wear. Install the new gasket with the correct orientation and tension, ensuring it sits flush against the door frame. Tighten any latch screws and run a short test cycle to confirm the door stays sealed during operation.
Finally, inspect the door latch mechanism for loose screws or worn components. A loose latch can cause the door to open slightly during cooking, compromising the seal. Tighten any loose screws or replace worn parts as needed, then run a final test cycle to ensure consistent temperature retention and a secure seal throughout use!
Step 4: Reset the Control Board
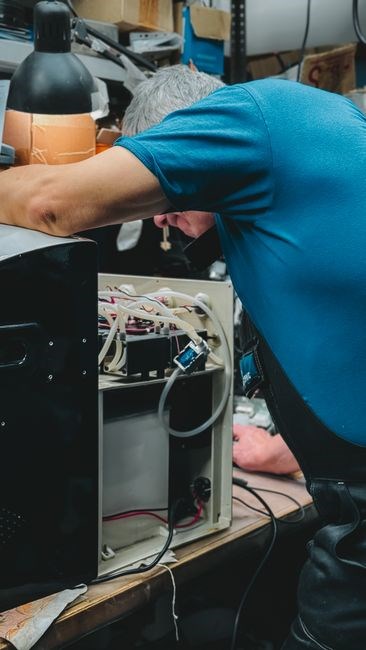
Resetting the control board can resolve many software glitches that manifest as error codes, unresponsive buttons, or erratic temperature readings. Before you begin, ensure the oven is unplugged from the mains to avoid any electrical hazards. Locate the main power switch on the back of the unit; toggle it off, wait for at least 30 seconds, then toggle it back on. This simple power‑cycle often clears transient memory faults. In many cases, a firmware update can be applied via the manufacturer’s website, but this requires a compatible USB drive and a stable internet connection.
Next, identify the control board itself. In most Jenn Air models, it sits beneath the front panel or inside the rear compartment. Carefully remove any screws or clips that secure the panel, then gently lift the board to expose the internal circuitry. Inspect the board for visible signs of damage—burn marks, bulging capacitors, or loose connections—because a physical fault may require professional repair. Make sure to keep the board dry and avoid touching the circuitry with metal objects, as static discharge can damage sensitive components.
If the board appears intact, locate the reset button or jumper. Some models feature a small recessed button labeled “RST” or a pair of pins that must be shorted with a metal tool. Use a non‑conductive tool to press the button for 5–10 seconds, or short the pins for the same duration. This action forces the board to clear its internal cache and reboot its firmware. After the reset, allow the board to stabilize for a minute before reconnecting power to ensure all subsystems initialize correctly.
After resetting, replace the panel, re‑secure all screws, and plug the oven back in. Turn on the oven and monitor its behavior. If the error code disappears and the temperature stabilizes, the reset was successful. If problems persist, consult the service manual or contact authorized support, as the issue may stem from deeper hardware faults or a defective board that requires replacement. Finally, document the reset procedure and any observed error codes in your maintenance log to aid future diagnostics.

When to Call Professional Service
Even with a thorough troubleshooting routine, certain conditions demand expert intervention; If the oven continues to display error codes after a full reset, it indicates a deeper fault in the control board or sensor array that requires specialized diagnostic equipment. Persistent overheating or a failure to reach the set temperature, despite correct power and proper door sealing, suggests a malfunctioning heating element or thermostat that must be inspected by a certified technician. Physical damage to the oven’s exterior, such as cracked panels, warped hinges, or a compromised door gasket, can compromise safety and efficiency; professional repair ensures that all safety interlocks are restored to factory specifications. Additionally, if the oven’s electronic display flickers, shows incorrect readings, or the control panel becomes unresponsive, the internal firmware may need re‑flashing or replacement of the control board, a task that typically exceeds the scope of a homeowner’s repair kit. Finally, any time the appliance is still under warranty, or if you notice unusual noises, odors, or leaks, contacting the manufacturer’s service center is the safest route to preserve warranty coverage and guarantee that all repairs meet regulatory standards. If you notice signs of electrical arcing, sparking, or a burning smell, do not use the oven until a qualified technician evaluates the unit, as these symptoms can indicate a serious hazard. Moreover, when the oven’s internal temperature sensor fails to provide accurate readings, the unit may cycle on and off erratically, damaging food and reducing energy efficiency; a professional will replace the sensor and recalibrate the system. Professional service also checks safety interlocks, ensuring compliance with electrical codes. Remember that timely service can extend the appliance’s lifespan and protect your investment.?!
Preventive Maintenance Tips for Longevity
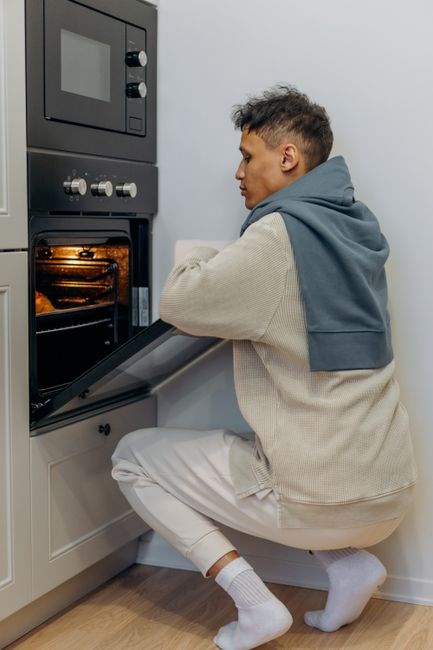
Regular preventive care keeps a Jenn Air oven reliable and safe. Begin by cleaning the interior after each use; remove crumbs and spills with a soft cloth and mild detergent, avoiding harsh abrasives that could damage the heating elements. Inspect the door gasket monthly, wiping away grease and checking for cracks; replace the gasket if it no longer seals tightly to prevent heat loss. Every six months, run a self‑clean cycle or a manual cleaning with baking soda and vinegar to dissolve buildup on the heating elements and interior surfaces. Keep the oven’s exterior free of dust by wiping with a damp cloth; avoid spraying water directly on the control panel. Check the power cord and outlet for frayed wires or loose connections; if any damage is found, replace the cord immediately. Test the temperature sensor by comparing the oven’s displayed temperature with an independent thermometer; if readings diverge by more than 5 °F, schedule a professional calibration. Inspect the door hinges and latch mechanism for smooth operation; lubricate moving parts with a silicone spray to reduce wear. Finally, review the user manual for any model‑specific maintenance recommendations, such as replacing the thermal fuse after a certain number of cycles. By following these steps consistently, you extend the oven’s lifespan, maintain energy efficiency, and reduce the likelihood of costly repairs. Remember to unplug the oven before performing any cleaning or maintenance tasks, and always refer to the manufacturer’s safety guidelines to avoid electrical hazards. If you notice any unusual behavior, contact a qualified technician promptly now.