
Bathroom vanity plans PDFs are essential for creating a polished, professional look in your DIY project. These detailed guides include cut lists, 3D diagrams, and step-by-step instructions, perfect for all skill levels.
Understanding the Importance of Printable Plans
Printable bathroom vanity plans are crucial for a successful DIY project. They provide a clear roadmap, ensuring accuracy and organization. These plans include detailed materials lists, step-by-step instructions, and 3D diagrams, catering to all skill levels. By following these guides, you can achieve professional results, customize designs, and save time. Printable plans are versatile, accommodating various bathroom sizes and styles, making them indispensable for a flawless vanity installation.
Benefits of Using PDF Plans for DIY Projects
PDF plans offer numerous benefits for DIY bathroom vanity projects. They are easily accessible and printable, providing clear, high-quality instructions. Step-by-step guides, detailed cut lists, and 3D diagrams ensure accuracy. PDFs are portable, allowing you to work anywhere, and their digital format makes them easily sharable. They cater to all skill levels, helping you achieve professional results while saving time and reducing errors, making them an essential tool for a successful project.

Where to Find Bathroom Vanity Plans PDF
Premium and free bathroom vanity plans PDFs are available on various websites, marketplaces, and DIY communities, offering a wide range of designs and styles for download.
Top Websites for Downloading Premium Plans
Top websites like Etsy, woodworking communities, and DIY platforms offer premium bathroom vanity plans PDFs. These sites provide expertly curated projects with step-by-step guides, materials lists, and 3D diagrams. Many plans include detailed cut lists and shopping lists, ensuring a smooth building process. Popular options include Etsy sellers like BuildItNotes, offering imperial-unit plans for double sink vanities, and other sites with customizable designs for various bathroom sizes and styles.
Free Resources for DIY Enthusiasts
Free bathroom vanity plans PDFs are widely available online, offering step-by-step guides and materials lists. Websites like Instructables and popular DIY platforms provide 15+ free projects, including simple designs like a 48-inch vanity. These plans often include 3D renderings, cut lists, and assembly instructions, making them ideal for beginners and experienced DIYers. They cater to various bathroom sizes and styles, ensuring a perfect fit for any space.
Understanding the Key Elements of Bathroom Vanity Plans
Bathroom vanity plans PDFs include essential elements like materials lists, cut lists, and step-by-step instructions. They also feature 3D diagrams for clarity, ensuring a smooth DIY experience.
Materials List and Cut List
A comprehensive materials list ensures you have all necessary supplies, from plywood to hardware. The cut list provides precise measurements for each wood piece, minimizing waste and saving time. These detailed lists help avoid errors, ensuring your DIY project stays on track. They cater to various skill levels, making your bathroom vanity construction straightforward and efficient.
Step-by-Step Assembly Instructions
Clear, detailed instructions guide you through assembling your vanity, from base to countertop. Each step is explained with precision, ensuring ease of understanding. Plans often include 3D diagrams and videos to clarify complex steps. Organized into logical phases, the instructions help you tackle the project methodically, even if you’re a beginner. They also highlight key tips for avoiding common mistakes and achieving professional results.
3D Diagrams and Visual Guides
3D diagrams and visual guides in bathroom vanity PDF plans provide a clear understanding of the project’s structure. These detailed illustrations show the assembly process, component placement, and final design. They help visualize measurements, layouts, and how pieces fit together. Visual guides are especially useful for beginners, ensuring accurate cuts and alignments. They often include labeled parts and step-by-step views, making the assembly process straightforward and reducing errors. These resources are perfect for all skill levels, offering a comprehensive visual aid to complement written instructions.
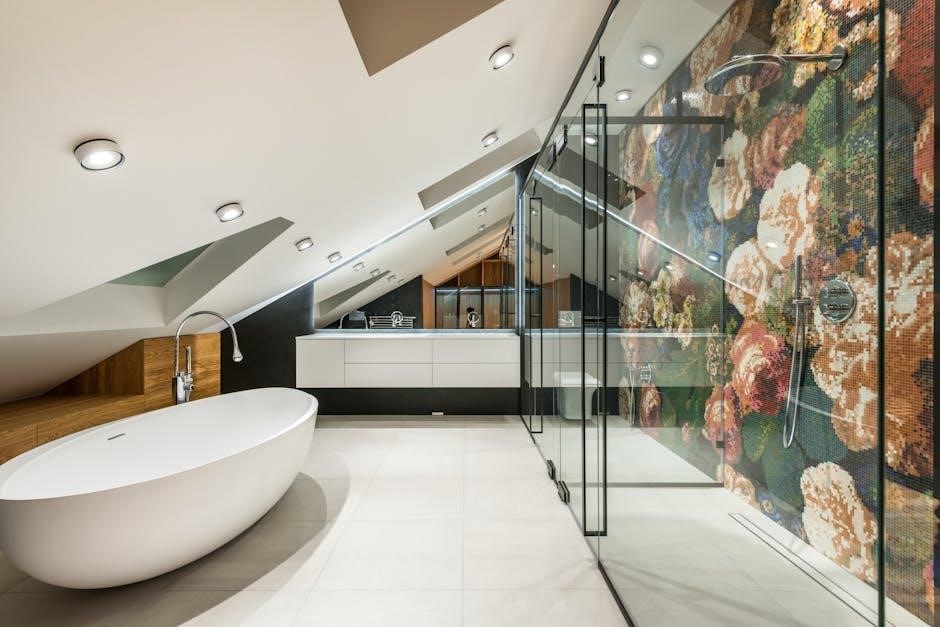
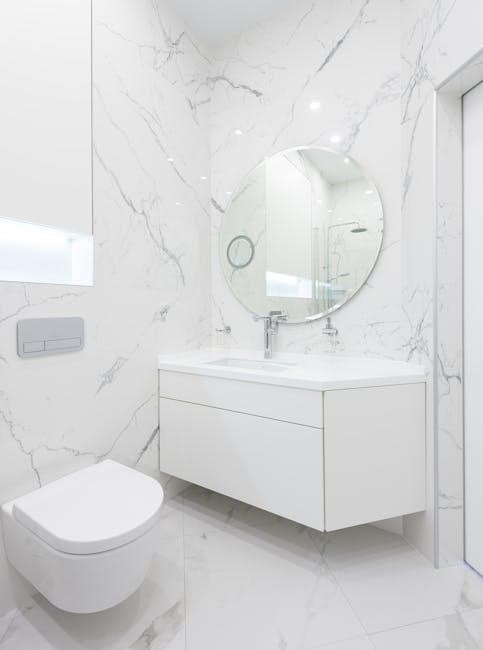
Choosing the Right Vanity Plan for Your Bathroom
Selecting the right vanity plan involves considering bathroom size, layout, and style. Ensure the design fits your space and complements your bathroom’s aesthetic for a cohesive look.
Considering Bathroom Size and Layout
Accurately measure your bathroom to ensure the vanity fits perfectly. Consider door swings, plumbing locations, and clearance needs. Choose a design that complements the room’s dimensions, ensuring functionality and aesthetics. For smaller spaces, opt for wall-mounted or compact designs. Larger bathrooms can accommodate double-sink vanities with ample storage. Precision is key to avoid installation issues and ensure a seamless fit.
Matching Your Bathroom Style
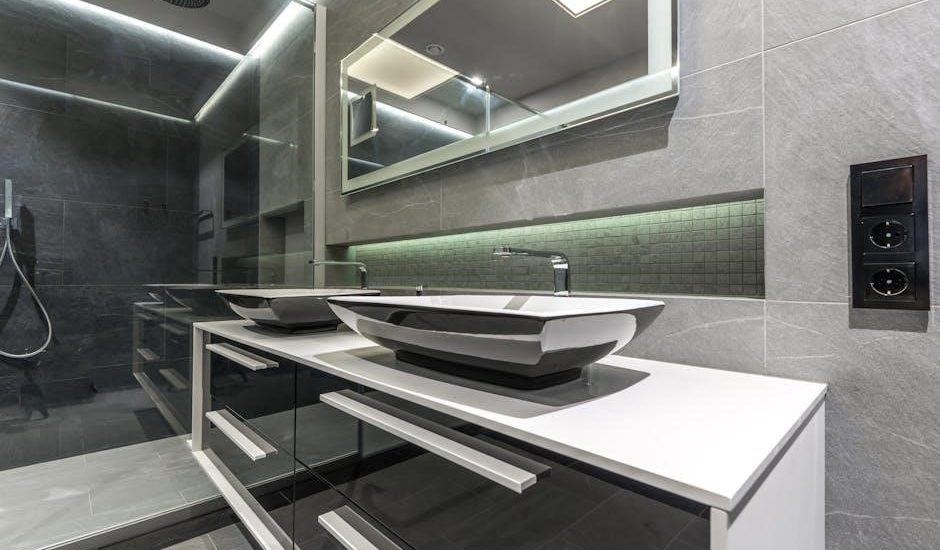
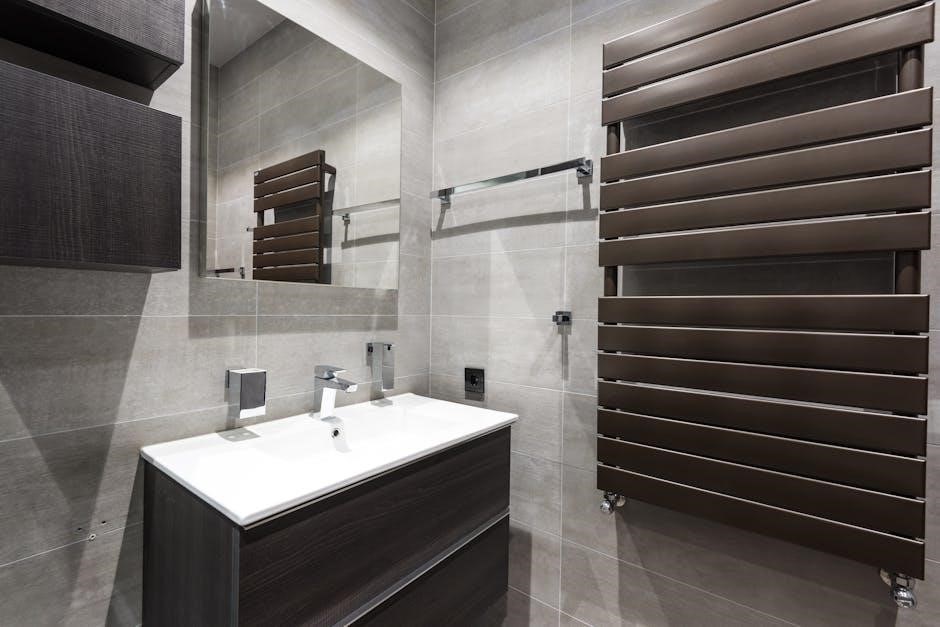
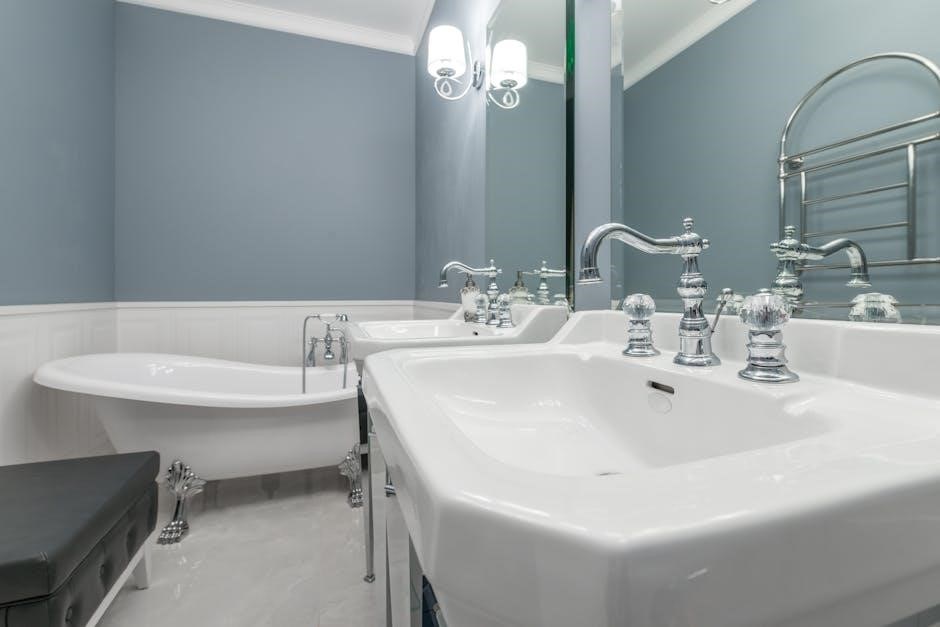
Select a vanity plan that aligns with your bathroom’s aesthetic. Modern designs feature sleek lines and minimalist finishes, while traditional styles incorporate ornate details and classic materials. Rustic or farmhouse vanities often include distressed wood and vintage hardware. Ensure the vanity’s color, material, and design complement existing fixtures and decor for a cohesive look that enhances your bathroom’s overall style and appeal.
Tools and Materials Needed
Essential tools include a circular saw, drill, tape measure, and sandpaper. Materials like plywood, MDF, or solid wood, along with hinges, handles, and finishes, are required for construction.
Essential Woodworking Tools
A circular saw is crucial for precise cuts on large panels. Sandpaper ensures smooth surfaces, while a drill and screwdriver help secure pieces together. A tape measure is essential for accurate measurements, and clamps hold wood firmly in place during assembly. These tools are vital for ensuring your bathroom vanity project is both sturdy and visually appealing. Additionally, a router can be used for decorative edges, enhancing the vanity’s aesthetic appeal. Always use a workbench for stability and safety during the woodworking process. Proper tool maintenance is also key to achieving professional-grade results. By having these tools ready, you’ll be well-prepared to tackle each step of the project confidently.
Recommended Materials for Durability
High-quality materials are essential for a durable bathroom vanity. Use moisture-resistant MDF or plywood for the cabinet to withstand humidity. Solid wood or engineered wood countertops are ideal for longevity. Incorporate waterproof finishes and sealants to protect against water damage. Stainless steel or brass hardware ensures longevity and resistance to corrosion. Proper material selection will enhance the vanity’s durability and maintain its appearance over time. Always opt for materials designed for bathroom environments to ensure long-lasting results;
Safety Precautions and Tips
Always wear protective gear like gloves and goggles. Ensure proper ventilation when using chemicals. Avoid overreaching and keep tools within easy grasp. Maintain a clutter-free workspace for safety.
General Safety Guidelines
Always wear protective gear like gloves and goggles. Ensure proper ventilation when using chemicals or power tools. Keep tools organized and within easy reach to avoid tripping. Regularly inspect power tools for damage. Never overreach or stretch excessively while working. Maintain a clean, clutter-free workspace to prevent accidents. Follow all manufacturer instructions for materials and equipment. Keep a first aid kit nearby in case of emergencies.
Common Mistakes to Avoid
- Incorrect measurements during cutting can lead to ill-fitting parts, wasting materials and time.
- Not following the PDF plans precisely can result in structural instability or poor aesthetics.
- Neglecting to allow proper drying time for glue or finishes can weaken the vanity’s durability.
- Overlooking plumbing requirements can cause installation issues and costly rework.
- Using low-quality materials may compromise the vanity’s longevity and appearance.
Measuring and Cutting
Precise measurements and accurate cuts are crucial for a professional finish. Use a tape measure and sharp tools to ensure clean, straight cuts that match your PDF plan specifications.
Accurate Measurements for a Perfect Fit
Accurate measurements are vital for ensuring your bathroom vanity fits seamlessly. Double-check all dimensions using a tape measure, and mark cuts clearly. Use clamps to hold materials steady during cutting to prevent errors. Follow the PDF plan’s specifications precisely to avoid mismatches. Proper alignment and precise cuts ensure a professional-looking finish and optimal functionality for your custom vanity design.
Best Practices for Cutting Wood
Use sharp tools to ensure clean cuts and avoid splintering. Always wear safety goggles and maintain a steady work surface. Follow the PDF plan’s cutting diagram closely, and double-check measurements before making each cut. Clamp materials firmly to prevent movement during cutting. Use a saw with precise alignment guides for straight edges. Sand cut edges immediately to smooth them out, ensuring a professional finish for your bathroom vanity project.
Assembly and Installation
Assemble the vanity by following the PDF plan’s step-by-step instructions. Ensure all components are aligned properly and secured firmly. Install the vanity in your bathroom by anchoring it to the wall and connecting plumbing fixtures. Double-check all connections for stability and leaks before finalizing the installation.
Step-by-Step Assembly Process
Begin by gathering all materials listed in the cut list. Align the vanity cabinet components according to the PDF plans, ensuring proper fitment. Secure the frame using screws or nails as specified. Attach drawers, doors, and shelves, following the 3D diagrams for accuracy. Install the countertop and sink, then mount the faucet and hardware. Finally, ensure all parts are level and stable before completing the assembly.
Installing the Vanity in Your Bathroom
Position the assembled vanity in your bathroom, ensuring it aligns with existing plumbing and electrical fixtures. Use shims to level the unit if necessary. Secure the vanity to the wall for stability, then connect water supply lines and drain pipes. Double-check all connections for leaks and ensure the countertop is properly sealed. Finally, install the faucet and any hardware, ensuring everything is tightly fitted and level.
Customization and Upgrades
Enhance your bathroom vanity with personalized touches, such as adding drawers, shelves, or cabinets for extra storage. Consider upgrading the finish with paint, stain, or laminate for a modern look. Install decorative knobs or handles to complement your bathroom style. Additionally, incorporate lighting or mirrors to create a functional and visually appealing space that reflects your unique taste and needs.
Adding Storage Solutions
Maximize your bathroom space by incorporating storage solutions into your vanity design. Add drawers for small items like toiletries, shelves for linens, or cabinets for larger essentials. Adjustable shelves can accommodate various sizes, while slide-out trays provide easy access. Consider adding a tilt-out drawer for cleaning supplies or a built-in hamper for laundry. These features enhance functionality, keeping your bathroom organized and clutter-free while maintaining a stylish appearance.
Enhancing the Design with Finishes
Enhance your bathroom vanity’s design with finishes that complement your space. Choose from a variety of materials like wood, metal, or glass for countertops and cabinets. Apply paint, stain, or sealants to protect and beautify the surfaces. Add decorative hardware for a polished look. Consider modern or rustic styles to match your bathroom aesthetic. These finishes not only elevate the appearance but also ensure durability and longevity for your custom vanity.
Troubleshooting Common Issues
Address common issues like misalignment or uneven surfaces by using shims or fillers. Sand rough edges and adjust hardware for a seamless fit. Ensure accuracy in measurements and follow plans carefully to avoid rework.
Frequently Encountered Problems
Common issues include misaligned drawers, uneven surfaces, and measurement errors. Hardware malfunctions and poor fitment of countertops are also frequent challenges. Ensure proper alignment during assembly and double-check measurements to avoid these pitfalls. Addressing these issues early prevents costly rework and ensures a polished finish.
Solutions for a Flawless Finish
Use clamps to ensure proper alignment during assembly. Sand surfaces thoroughly and apply wood filler to imperfections. Double-check measurements and pre-drill holes to avoid splits. For countertops, apply adhesive evenly and secure firmly. Follow step-by-step instructions and consider watching build videos for guidance. These solutions help achieve a professional-grade finish and long-lasting durability for your bathroom vanity.
Completing your bathroom vanity project brings a sense of accomplishment. Regularly maintain the finish and clean surfaces to preserve its look. Happy building!
Final Check Before Completion
Conduct a thorough inspection of your vanity to ensure all components are securely assembled. Verify that all drawers and doors function smoothly and align properly. Check the countertop for evenness and the plumbing connections for leaks; Sand any rough edges and apply a final coat of finish to ensure durability and a polished appearance. Properly dispose of any leftover materials and tools. Take pride in your handiwork and enjoy the fruits of your labor. A well-executed final check guarantees a professional-grade result for your bathroom vanity project.
Maintenance and Care Tips
Regularly clean your bathroom vanity with mild detergents and soft cloths to prevent scratches. Avoid harsh chemicals that may damage finishes. Dry surfaces after use to prevent water spots. For wooden vanities, apply a protective wax or polish periodically to maintain durability. Inspect for any signs of water damage or warping and address them promptly. Lubricate drawer slides and hinges as needed to ensure smooth operation. Proper maintenance ensures your vanity remains functional and aesthetically pleasing for years to come.